Did you know that the average toaster, blender, or coffee maker is used for only 5 to 7 years before being discarded, often due to a single, easily replaceable component failure? This flood of functional, yet discarded, gadgets contributes massively to the global e-waste crisis. Every time a consumer throws away a device with a broken heating element or a faulty switch, they sacrifice the embodied energy and valuable technical nutrients (metals, durable plastics) within the appliance.
Small appliance repair is the most accessible and financially rewarding way to fight the linear economy from your own kitchen counter. The skills needed for a simple toaster repair or blender fix are basic, yet they are the key to maximizing asset life and achieving a significant level of e-waste reduction. This guide provides the definitive playbook for how to repair small appliances yourself, detailing common toaster problems and fixes, outlining a DIY blender repair guide, and proving that the sustainable choice is also the simplest and most economical one.
I. The E-Waste Cost of the Coffee Break (The OREO Framework)
The linear model treats small, easily replaceable components as an excuse to discard the entire high-value asset.
The Problem of Premature Obsolescence
Opinion: The prevalent culture of immediately discarding small appliances when they fail is a financially and environmentally indefensible act of value destruction.
Reason: The core motor in a blender, the metal frame in a toaster, and the heating element in a coffee maker are designed for decades of service. The components that typically fail (plastic gears, fuses, switches, or power cords) are cheap to replace. The manufacturer, however, often uses proprietary fasteners or excessive glue to make small appliance repair difficult, thereby pushing the consumer toward the more profitable act of purchasing a new unit.
Example: Sarah’s two-year-old high-end blender stops working. She assumes the motor is dead and buys a new one for 150. A simple diagnosis (part of appliance repair basics) reveals that a small, plastic drive gear inside the base has stripped (a 5 part). Her failure to perform a blender fix cost her 145 and created unnecessary e-waste. The circular solution requires a simple replacement part and a 15-minute DIY blender repair guide following a procedure.
Opinion/Takeaway: Therefore, mastering small appliance repair is the most immediate way to retain the high-value core asset, ensuring the product achieves its full functional lifespan and minimizing your contribution to the e-waste reduction crisis.

II. DIY Triage: When to Repair, When to Replace
Before attempting how to repair small appliances yourself, apply a simple triage to determine the cost and safety viability of the repair.
A. The Safety Check (When to Call a Professional)
- The Cord: Always check the power cord first. If it is frayed or sparking, replace the cord entirely.
- The Water Line: Never open an appliance that is currently plugged in, or one that has recently been submerged in water (wait for it to dry fully).
- Major Electricals: For issues involving the main circuit board, high-voltage wiring, or complex heating element failures that require advanced soldering, call an appliance repair basics professional or seek guidance at a local repair cafe.
B. The Cost Check (The 50% Rule)
- If the cost of the replacement parts (e.g., a new motor for a coffee maker or a new blade assembly for a blender) exceeds 50% of the cost of a brand-new, comparable unit, it is time to consider replacement, but only with a new, more energy-efficient model (maximizing circular value).
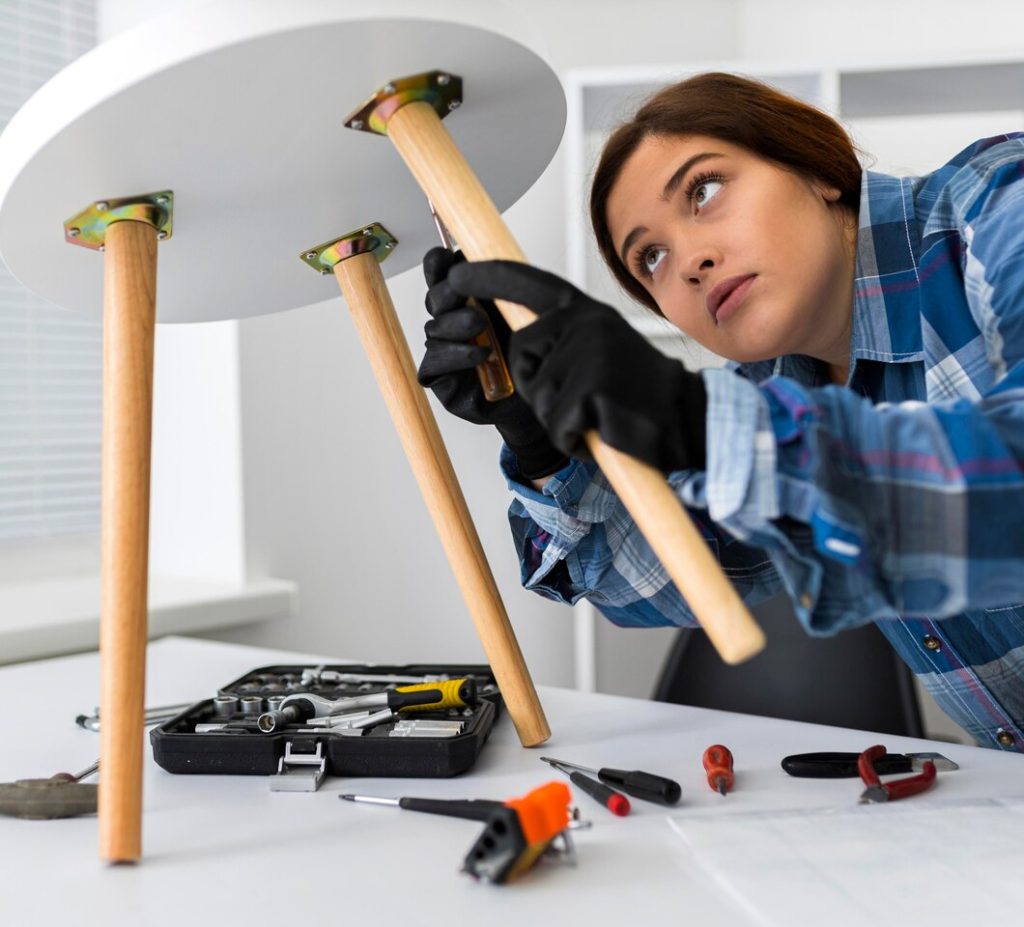
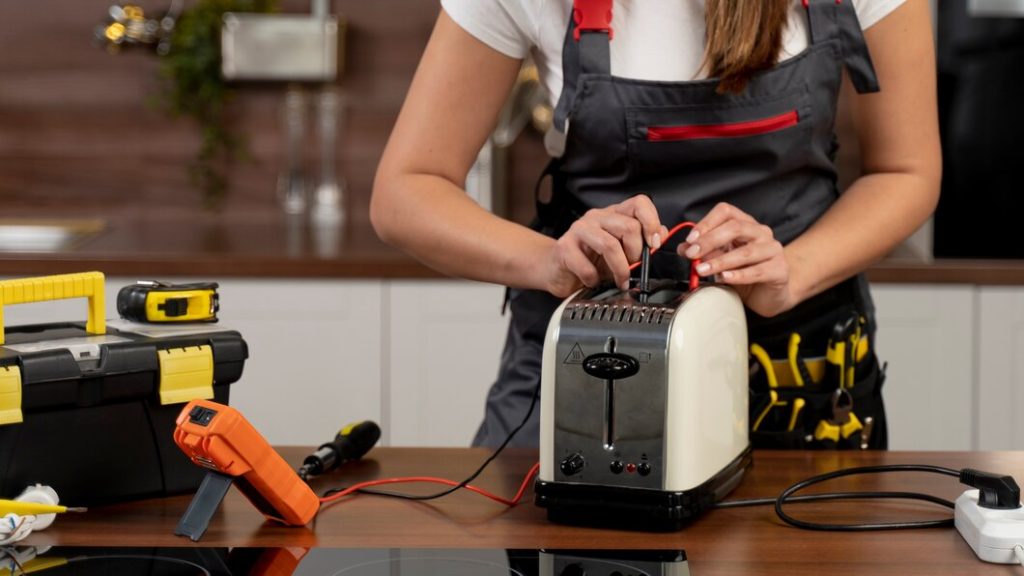
III. Toaster Repair: Common Toaster Problems and Fixes
Toasters are simple machines built around a heating element and a mechanical switch. Most failures are easily addressed with basic tools.
1. The Lever Won’t Stay Down
- The Cause: The solenoid (the electromagnet that holds the lever down) is either not receiving power or the latch mechanism is physically jammed by crumbs.
- The Fix: Unplug and allow the toaster to cool completely. Carefully clean the crumb tray. For older toasters, gently shake the unit upside down to dislodge hardened crumbs near the latch. If the problem persists, the solenoid or timer switch may need testing with a multimeter (a slightly more advanced step in small appliance repair).
2. The Toast Comes Out Uneven
- The Cause: The heating elements (the exposed wires) are not glowing evenly, often due to physical damage or a short in the circuit.
- The Fix: Unplug the toaster. Inspect the elements. If you see a broken wire, it is often a sign of a non-repairable core issue. However, sometimes bread or foil has lodged itself against the element, causing uneven heat. Use plastic tweezers to safely dislodge any material.
3. The Toaster Trips the Breaker
- The Cause: A short circuit, often caused by excessive corrosion on the heating elements or a faulty power cord.
- The Fix: Unplug the toaster immediately. This is a severe electrical issue. If the cord is fine, the fault is internal and is likely beyond a simple common toaster problems and fixes solution.
IV. Blender Fix: DIY Blender Repair Guide
Blenders fail mainly due to mechanical stress on the motor and the blade assembly, creating noise and a failure to spin.
1. The Motor Runs, But the Blade Doesn’t Spin
- The Cause: The drive coupling (the small plastic or rubber gear that transmits power from the motor spindle to the blade base) has stripped. This is the most common failure point and a very common blender fix required.
- The Fix: Unplug the unit. The stripped coupling is usually accessible from the base of the blender. Use a screwdriver and pliers to remove the broken gear from the motor shaft. Replacement couplings are generic, low-cost parts easily found online. Follow a DIY blender repair guide to safely remove the old coupling and thread on the new one.
2. The Blender Leaks from the Bottom
- The Cause: The rubber gasket seal inside the blade assembly has worn out or is missing.
- The Fix: Unscrew the blade assembly from the jar base. Inspect the gasket. Purchase a replacement gasket/seal. The circular choice is to replace only the seal, not the entire blade assembly or the whole blender.
3. The Motor Smells Burnt and Won’t Start
- The Cause: Severe overheating due to overloading the motor or a bearing failure.
- The Fix: Unplug the unit. This often indicates a failed motor or a blown thermal fuse within the motor casing. While a professional small appliance repair technician may be able to replace the thermal fuse, this is often the one case where the core asset (the motor) has failed, justifying a replacement with a more powerful, durable unit.
V. Coffee Maker Fix: The Flow and Heat Problems
Coffee makers are plumbing systems combined with a simple heating element. Most failures relate to clogs, seals, or thermal fuses.
1. The Coffee Maker Won’t Heat Water
- The Cause: The heating element has failed, or the thermal fuse has blown (often due to excessive mineral buildup).
- The Fix: The circular solution prioritizes prevention. The primary cause of element failure is mineral scale (calcium) from hard water. Regularly run a solution of equal parts water and white vinegar through the machine’s brewing cycle. This descaling process often revives the heating element’s efficiency and lifespan, preventing a complete coffee maker fix replacement.
2. Water Doesn’t Flow (The Slow Brew)
- The Cause: A severe clog in the internal tubes caused by coffee oils and mineral scale.
- The Fix: Run a high-concentration vinegar solution through the machine multiple times, allowing it to sit for 30 minutes in the heating element before completing the cycle. Follow with several cycles of clean water. This simple appliance repair basics procedure often resolves the problem and restores the flow.
3. The Coffee Maker Leaks
- The Cause: A faulty check valve or a worn-out rubber gasket/seal near the water reservoir.
- The Fix: Unplug and inspect the reservoir seal. If the component is accessible, use online resources to locate the specific gasket part number. Replacing a simple rubber gasket is a low-cost, high-impact e-waste reduction repair.

Conclusion: The Appliance Longevity Mindset
The disposal of small appliances is a self-inflicted wound of the linear economy. These products are manufactured with durable cores and designed for far longer lifespans than the 5-7 years of average use.
By embracing the small appliance repair mindset, utilizing basic appliance repair basics skills, and following a DIY blender repair guide or toaster repair troubleshooting steps, you reclaim control over your possessions. How to repair small appliances yourself is the key to unlocking hidden savings and achieving significant e-waste reduction, proving that the most sustainable product is the one that never leaves your counter.