Smartphones and tablets are the most valuable, resource-intensive assets in the average person’s life, yet they are the single largest contributors to the world’s fastest-growing waste stream: e-waste. When a screen shatters or a battery dies, the linear economy encourages disposal, destroying hundreds of dollars in material value and creating demand for new, virgin precious metals.
Phone repair is the crucial frontier of the circular economy. Extending the lifespan of these devices through simple component replacement is the most high-impact act of resource stewardship available to the consumer. This guide provides the definitive DIY phone repair roadmap, detailing how to replace phone screen yourself, proving the viability of DIY smartphone battery replacement, and empowering you to master the skills needed for repairing phone at home guide procedures.
I. The E-Waste Epidemic (The OREO Framework)
The high failure rate of screens and batteries is often not accidental; it is a feature of the linear system designed to force product turnover.
Engineered Obsolescence
Opinion: The primary reason smartphones become e-waste is not core processor failure but the intentional difficulty manufacturers impose on battery and screen replacement.
Reason: Manufacturers maximize profit by making battery and screen replacement difficult (using proprietary screws, excessive glue, and software locks). This drives the consumer to the expensive official repair channel or, more commonly, to buy a new device. The destruction of the phone’s functional core (the processor, memory, and frame) due to a single component failure is a massive, engineered waste of rare earth metals and energy.
Example: Alex’s phone battery capacity drops below 80% after two years, making the phone unusable off a charger. The original battery replacement costs $150. A DIY smartphone battery replacement kit costs $30, but the official vendor uses proprietary glue that makes the job hazardous without the right tools. The right to repair movement fights these design barriers to make the phone repair choice the easy, obvious one.
Opinion/Takeaway: Therefore, mastering phone repair is a direct challenge to planned obsolescence, securing the longevity of your high-value asset and directly reducing the demand for environmentally costly new manufacturing.
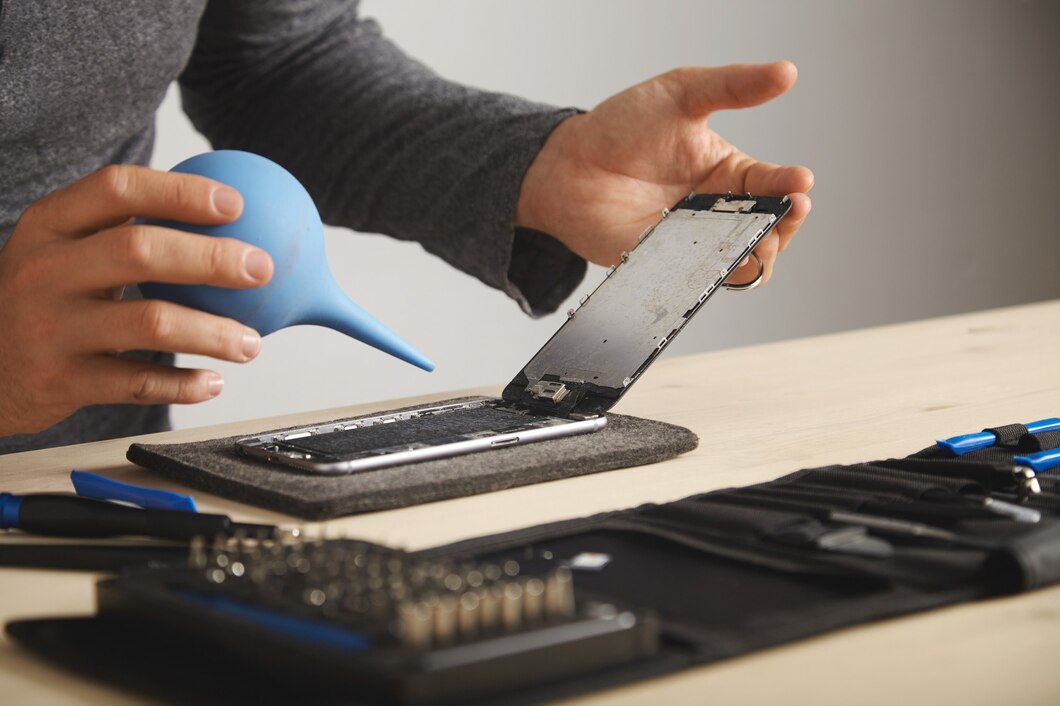
II. How to Replace Phone Screen Yourself: The Process
The shattered screen is the most common failure. While challenging, a DIY phone fix for a screen replacement is possible with patience and the right tools.
Step 1: Secure the Kit and Guide
- The Kit: Purchase a screen replacement kit that includes the new display assembly, all necessary precision tools, and fresh adhesive.
- The Guide: Use a trusted, high-quality tablet repair guide (like iFixit or a high-rated YouTube video specific to your model) to understand the component placement and adhesive release points.
Step 2: Heat and Disassembly
- Adhesive Release: Screens are held in place by strong adhesive. Use a low-heat source (e.g., a hairdryer or heat mat) to gently warm the edges of the screen, softening the adhesive.
- Prying: Use the thin, specialized prying tools (spudgers) to carefully separate the shattered screen from the frame. Extreme caution is required to avoid damaging internal ribbon cables and the speaker/sensor arrays.
Step 3: Installation and Testing
- Transfer Components: Carefully transfer the small components (e.g., the front-facing camera, ear speaker) from the old screen assembly to the new one.
- Testing: Before fully seating the new screen with adhesive, connect the display cables and power on the phone to verify that the touch screen, display, and transferred components are fully functional.
III. DIY Smartphone Battery Replacement: The Power Swap
A failing battery is the primary cause of functional obsolescence. Battery replacement is often simpler than the screen fix but still requires precision.
The Battery Fix Protocol
- Discharge Safely: Partially discharge the old battery (to about 25%) to minimize fire risk during the removal process (a precaution due to lithium-ion instability).
- Adhesive Release: Batteries are heavily glued into the chassis. Use the same low-heat application and gentle prying to lift the battery out. Never puncture or bend the battery, as this can cause a fire.
- New Battery Install: Place the new battery and secure it with the new adhesive strips provided in the kit. Important: Ensure the new battery is certified and compatible with your device.
IV. Repairing Phone at Home Guide: Circularity and Value
The successful DIY phone fix is a monumental win for personal finance and the circular economy.
- Value Retention: A functional screen or battery restores 90% of the device’s value, which can be thousands of dollars for a high-end model.
- Material Purity: By replacing a single component (the screen glass or the battery cell), the high-value core components (gold, processor, camera sensors) are kept in use, preventing the complex and environmentally damaging process of e-waste recycling.
- Empowerment: Mastering the tablet repair or phone fix skill transfers a valuable competency to the consumer, making them less reliant on the linear economy’s disposable dictates.
Conclusion: The Right to Longevity
The smartphone is not disposable; it is a complex, valuable asset. The prevalence of e-waste is a manufactured problem caused by planned obsolescence.
By embracing the DIY phone repair mindset, utilizing a reliable repairing phone at home guide, and securing high-quality replacement parts, you are actively participating in the circular economy. How to replace phone screen yourself and performing a DIY smartphone battery replacement are the most direct ways to fight e-waste and guarantee your device the long, functional life it was built for.